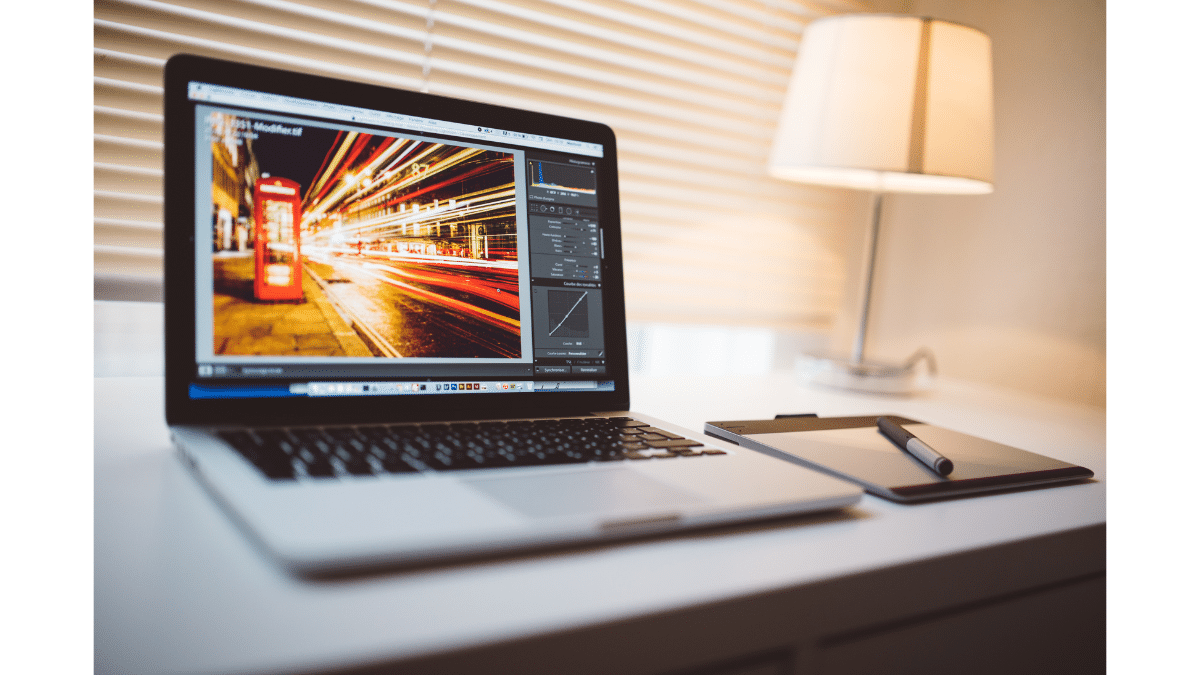
Lightroom is a powerful photo editing tool used by many professional and amateur photographers worldwide. It helps to edit, organize, and share photos hassle-free.
However, one of the new photographers’ most frequently asked questions is whether or not they can edit JPEGs in Lightroom. The answer is yes.
In this blog, we will explore how you can edit your JPEG photos using Lightroom and what are the best practices to follow.
What is Lightroom and how to use it
Adobe Lightroom is a popular photo editing software that helps photographers to work more efficiently with their digital images. The software offers two main modules: the Library module and the Develop module.
The Library module allows photographers to organize, manage, and search for photos.
The Develop module is where all the magic happens, and it is here where you can edit your photos. You must download and install the software on your device to use Lightroom.
Once installed, you can start importing your photos into the Library module, and from there, you can edit your photos using the Develop module.
Different file formats supported by Lightroom
Lightroom supports various file formats, including RAW, JPEG, and TIFF. RAW files are preferred by many photographers, as they offer more flexibility in editing as compared to JPEGs and TIFFs.
RAW files are unprocessed data captured directly by the camera’s sensor and have a higher dynamic range than JPEGs.
However, JPEGs are much smaller in size, and they are perfect for sharing on social media platforms and emailing to friends and family.
How to edit JPEGs with Lightroom

Editing a JPEG in Lightroom is similar to editing any other file format. You can adjust exposure, white balance, saturation, sharpness, and many other parameters using the sliders provided within the Develop module.
However, the critical difference between editing a JPEG and a RAW file is that you need more latitude to recover highlight and shadow details in a JPEG file. This is because JPEGs are already processed files that contain limited information, unlike RAW files.
Nevertheless, it is still possible to make significant adjustments to a JPEG photo in Lightroom, such as cropping, straightening, and applying creative filters.
Preparing a JPEG for editing in Lightroom
Before you start editing your JPEG file in Lightroom, following a few best practices is essential to get the best results. These include:
- Importing the JPEGs into Lightroom at the highest resolution possible
- Avoiding too much compression of the JPEG file during the export process
- Using the correct color space for the JPEG file, such as sRGB or Adobe RGB
- Avoiding overexposing or underexposing the image during capture, which can lead to loss of details in highlights and shadows
Editing techniques for JPEGs in Lightroom
Regarding editing techniques, Lightroom offers many options to enhance your photos. Some basic techniques include adjusting exposure, contrast, and white balance.
You can also use the HSL panel to adjust individual colors or the Tone Curve panel to fine-tune the contrast.
Additionally, you can apply various presets or filters to your JPEG image to give it a specific look or style. The key is to experiment with different settings and filters until you achieve the desired result.
Exporting and sharing the edited JPEG image
Once you are satisfied with the edits, it’s time to export and share your JPEG image. In Lightroom, you can export your image in various sizes and file formats, including JPEG, TIFF, and PSD.
For sharing on social media platforms, it’s best to export the image in the sRGB color space and at a resolution of 72 ppi. You can also add a watermark to your image in the export dialog box to protect your work from unauthorized use.
Why it’s better to edit with RAW photos in Lightroom
While it’s possible to edit JPEGs in Lightroom, it’s always better to shoot in RAW format whenever possible, especially when you need to make significant adjustments to your photos.
RAW files preserve more image data and offer greater flexibility in post-processing, giving you more control over aspects such as exposure, white balance, and color.
While they may take up more space on your memory cards and hard drives, the benefits of RAW files far outweigh these minor inconveniences.
Conclusion
Lightroom is a versatile photo editing tool that can handle a wide range of file formats, including JPEGs.
While you may get a different level of flexibility in editing JPEG files than RAW files, you can still achieve outstanding results by following the best practices and experimenting with different settings and filters.
However, if you are serious about photography, it’s always better to shoot in RAW format whenever possible, as RAW files offer more opportunities for creative freedom and better post-processing results.